In one of my previous post I described how to do the deployment manually on an Amazon EC2 server. And in this new series of posts I want to introduce how to deploy a Ruby on Rails 4.2 application on a Ubuntu 14.04 server from start to finish. I know there are lots of tutorials on the internet and even several books on deploying rails, however they are either outdated or not very clear how to do the deployment step by step. So in this series I will try to describe as clear as possible for each step.
In this first part I will describe how to install the web server and database. Here I will use Nginx, Unicorn and PostgreSQL.
Application
To demonstrate the deployment, I will create a sample Rails 4.2 application called deploy_sample.
1
| |
And then I update the .gitignore file to exclude database.yml and secrets.yml from committing to repository.
Add the following lines to .gitignore
1 2 | |
And then we copy the database.yml and secrets.yml to an example yml so let’s say if your colleagues need to work on this project, they could copy the example yml back and set their configurations.
1 2 | |
Now let’s init the git repository and commit our project.
1 2 3 | |
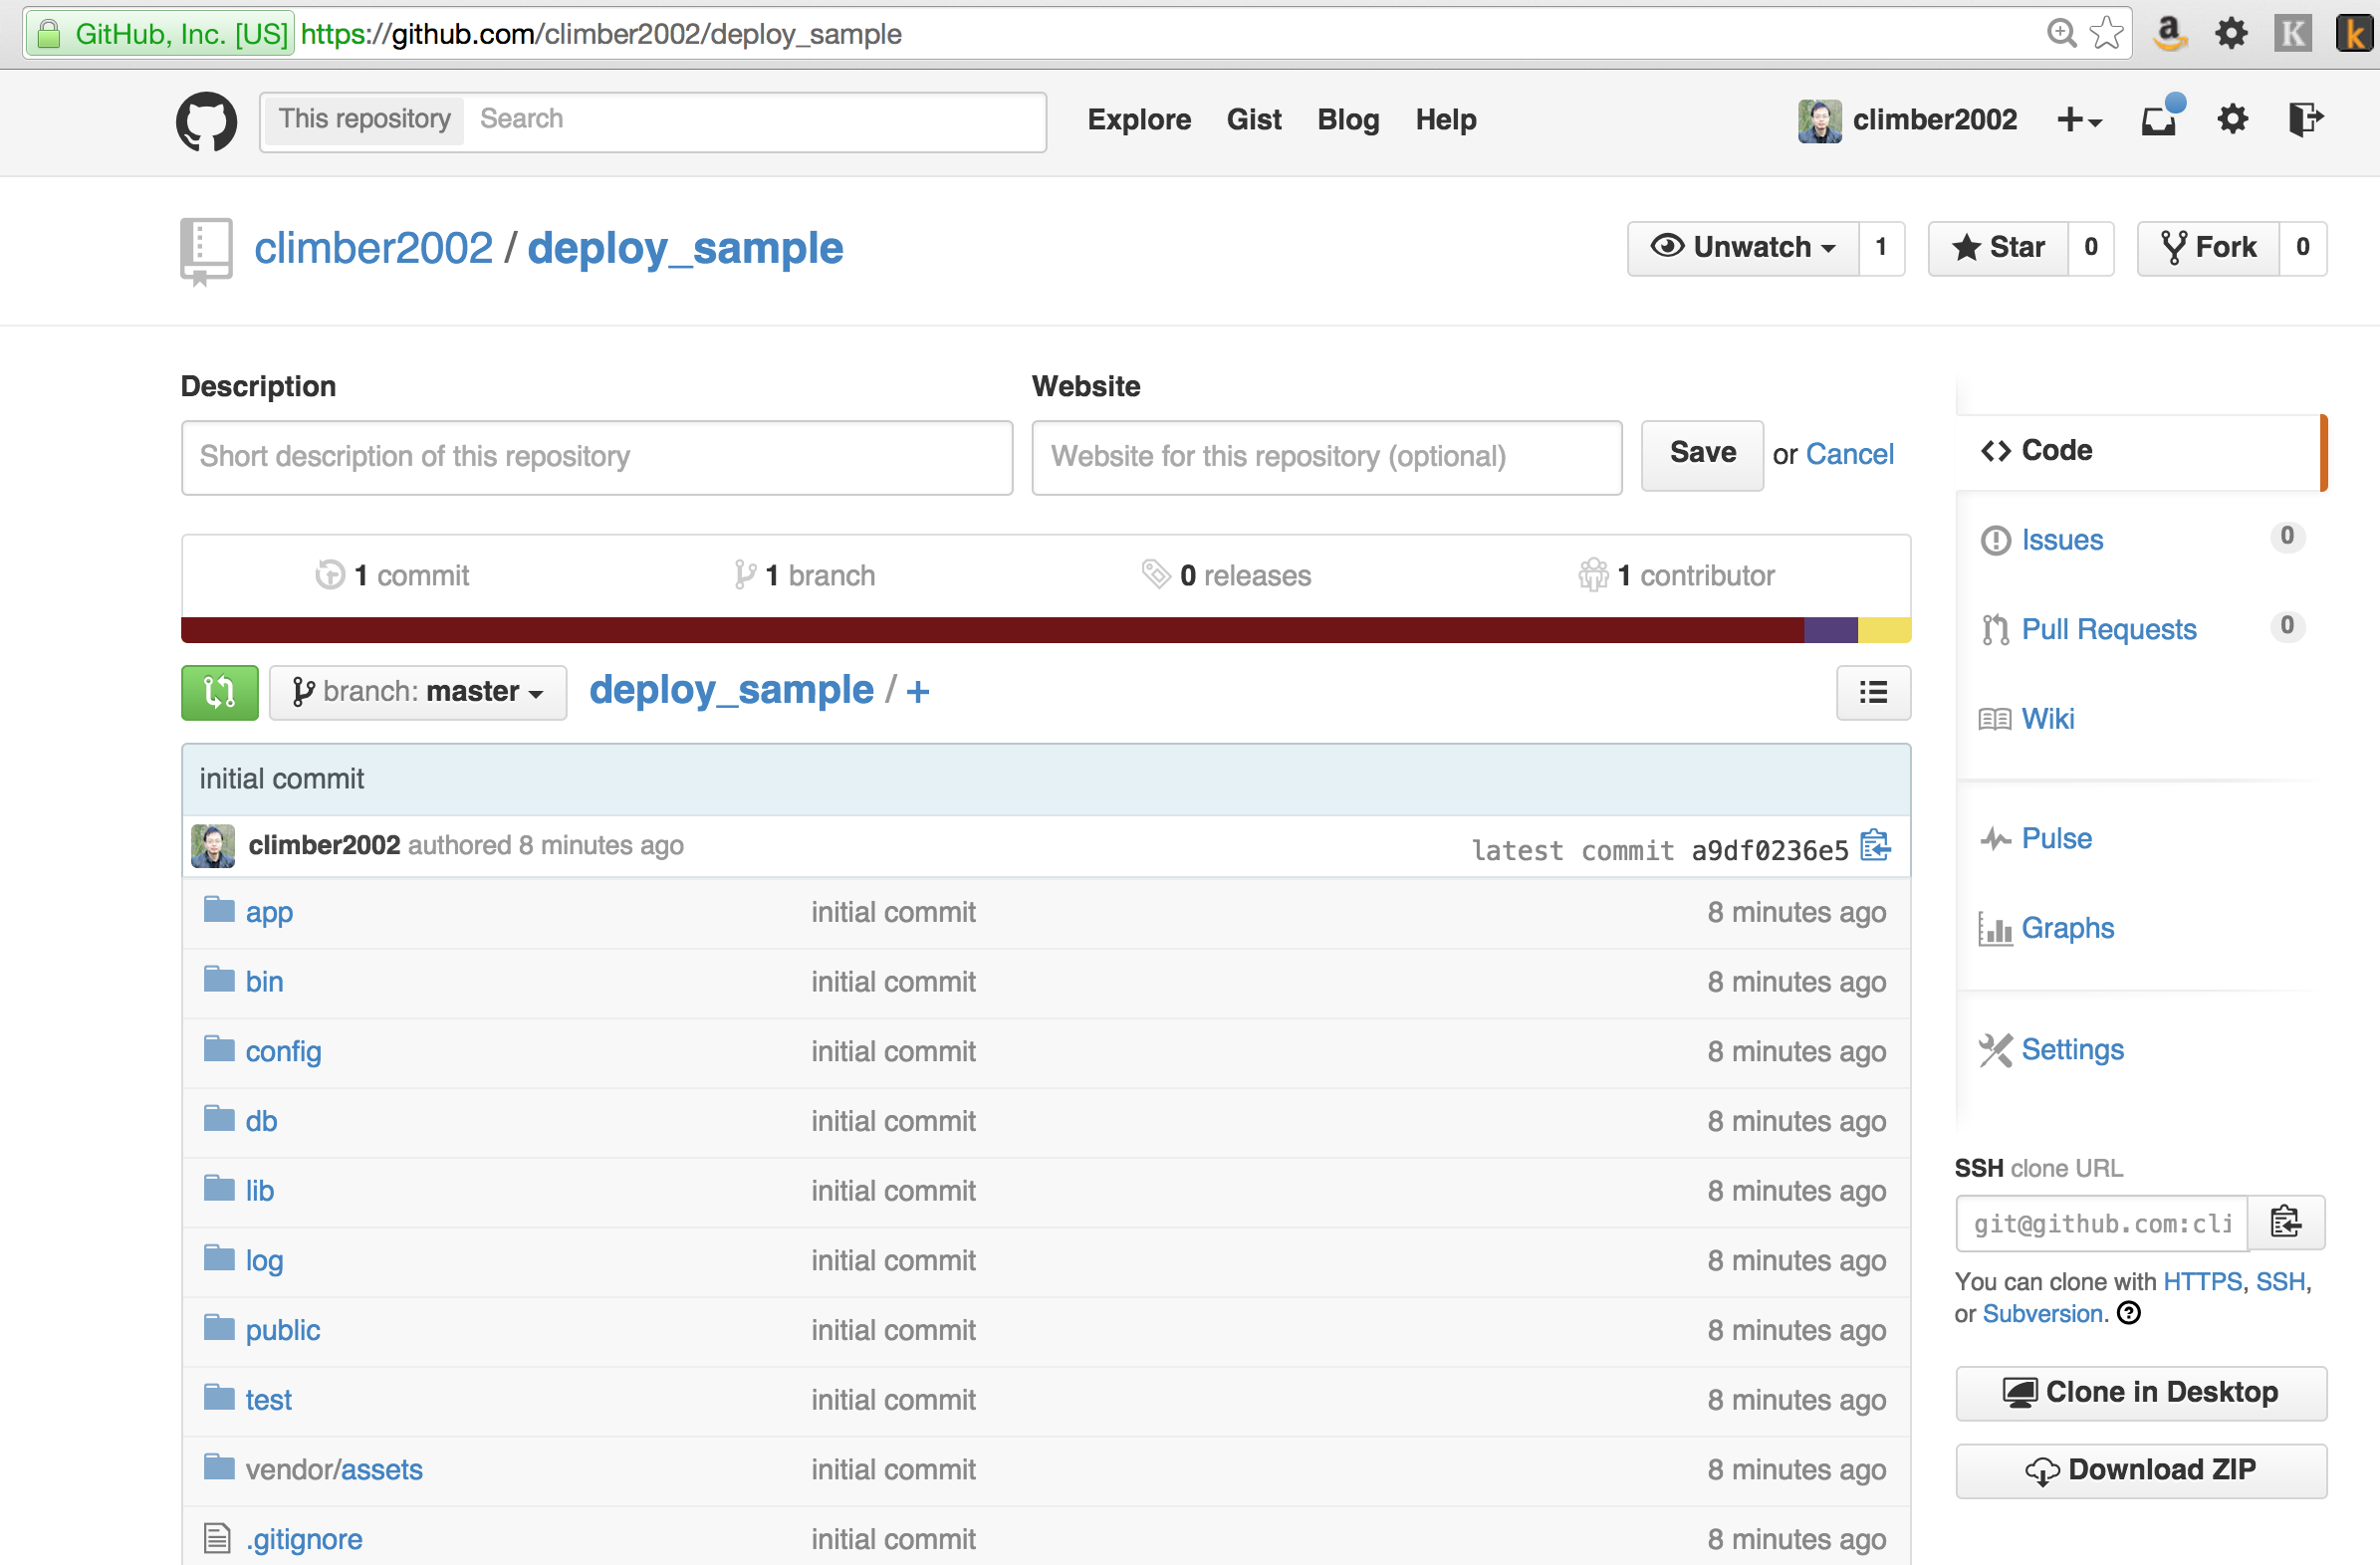
We will use github as our remote repository, so let’s create a repository on github. And then follow its instructions, let’s push the project.
1 2 | |
After that if we refresh the repository on github, we could see the content that we have committed, like the following snapshot.
Now let’s create some models, for simplicity I will just create a model called Article using scaffold.
1
| |
We can run the migrations and test the application is ok from accessing *http://localhost:3000*
1 2 3 | |
After we can commit our changes,
1 2 3 | |
Now this sample application will be used for our deployment
Vagrant
For demonstration I will use Vagrant to create a VM. But it should apply to any VPS too. Firstly you should install VirtualBox and Vagrant. The installation should be straight forward.
Then we create an empty folder in ~/Sites and init the Vagrant.
1 2 3 | |
The vagrant init command creates a new file called Vagantfile. This file is configured to use Ubuntu 14.04 LTS server, codenamed “trusty”.
And I want to assign this VM a private IP address, so we can access it from host server later. So open the Vagrantfile and add the following line.
1
| |
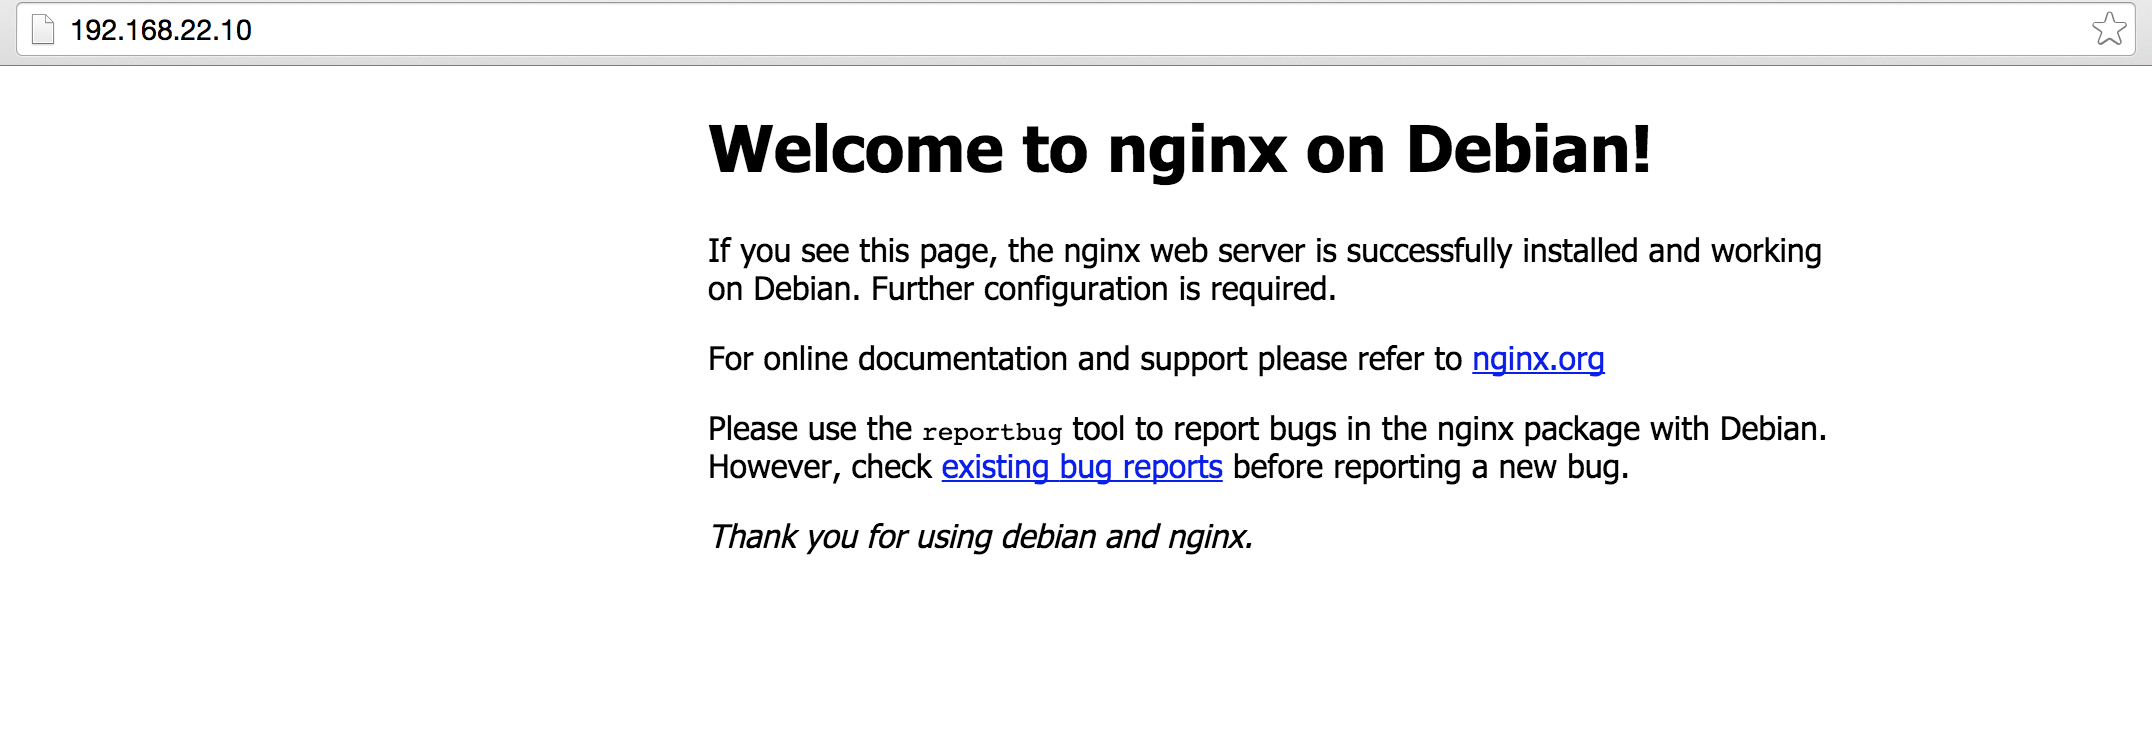
It assigns the IP address “192.168.22.10” to the VM. Later we can see that we can access the nginx by using this IP address.
Now in this folder we could type vagrant up to start the VM. If it’s the first time it will take some time as it needs to download the VM image from the internet.
After the VM is up, we could type vagrant ssh to ssh into the VM. Notice the prompt will change. If you are not sure whether you are in host server or the VM, just check the prompt.
1
| |
Install Basic Software
After our VM is up we could install some basic software.
So in the VM, we type following commands,
1 2 | |
Nginx
Now let’s install Nginx. As the default Nginx distribution may be out of date, let’s add Nginx repository and install it.
1 2 3 | |
After installation Nginx should start automatically. We could check its status by executing sudo service nginx status. And we could also access http://192.168.22.10 from our browser.
PostgreSQL
Now let’s install PostgreSQL. And again we add another repository.
1 2 3 | |
The libpq-dev library is needed for building the ‘pg’ rubygem.
Installing PostgreSQL will create a user named ‘postgres’. This user is the owner of PostgreSQL.
Let’s create a password for postgres.
1 2 3 4 | |
In PostgreSQL the user is represented by a Role. Now let’s create a role named deploy_sample.
1 2 3 4 5 6 7 | |
The above lines will create a user deploy_sample and a database deploy_sample_production and set deploy_sample as its owner. The last command \q is to exit psql.
Monit
In next part we will use capistrano template for our deployment. And in that template it will also deploy Monit. According to its official website, “Monit is a small Open Source utility for managing and monitoring Unix systems. Monit conducts automatic maintenance and repair and can execute meaningful causal actions in error situations.”
So let’s also install that.
1
| |
After installation we can run sudo service monit status to confirm that monit service is already started.
Nodejs
We need a Javascript runtime so we are going to install Nodejs.
1
| |
Summary
In this part we setup a VM server and installed Nginx and PostgreSQL. In next part we will see how to deploy our rails app by using capistrano.